Showing posts with label red velvet. Show all posts

Tuesday, February 7, 2012

Ombre Red Velvet Cupcakes

Valentine's Day is quickly approaching and I've got the perfect sweet for you to share with your loved ones this year! Decorated with ruffles in shades of pink to red, these are a fancy version of your typical Red Velvet Cupcakes. I've also swapped out the traditional cream cheese icing for a white chocolate buttercream which I think you are going to LOVE! These are absolutely delicious and a must make for your sweetie!

I have been dying to try the ombre technique ever since I came across these stunning cakes over at Half Baked last year. I knew February would be the perfect month to have some fun with various shades of icing and my piping tips!

Although the various shades and layer upon layer of icing may appear a bit intimidating these cupcakes really are super easy to make! I'm sharing the recipe and all the tools & tips you will need to recreate this decorating technique over at Half Baked!

I hope you enjoy this recipe! Have you ever decorated something sweet with the ombre technique...I'd love to hear all about it!

XOXO

Monday, October 24, 2011

Birthday Cupcakes with Cookies on Top


Happy Monday! Sorry there have been a lack of posts lately...things have been a little hectic these days, but I'm trying to get back into a regular routine of posting again, so please bare with me! I've been doing a lot of baking for customers lately so I've got some fun things to share throughout the week!

First up are some birthday cupcakes topped with sugar cookies and X box fondant toppers. Tracy, one of my loyal customers was the brains behind the idea of cookie toppers for her husband's birthday cupcakes...I mean why not have two sweat treats all in one! Loved this idea, and will definitely be making cookie toppers again!

Red Velvet cupcakes w/ cream cheese frosting, topped with white iced sugar cookies and "32" for the birthday age.

Strawberry cupcakes w/ strawberry cream cheese frosting, topped with red iced sugar cookies and "ML" for the birthday boy's initials.

Two special cupcakes were topped with black fondant X box controllers, one of the recipient's favorite hobbies.

When it comes to more masculine designs I sure am glad to have my husband around. I have to give him about 90% of the credit for creating these controllers! I gave him a picture to reference and he went to town molding the shape...pretty good huh! All I did was supervise and make the colored buttons!

Hope you enjoyed this birthday cupcake & cookie collection!
More birthday treats coming soon...

Friday, December 24, 2010

Cupcake a Week: Christmas Tree


Merry Christmas Eve! By now I'm sure you all have your trees decked out with strands of sparking lights and colorful ornaments...and if you don't you better hurry before Santa comes tonight! I have really enjoyed sitting by our tree nightly this month and looking at its bright lights and unwinding from the day. I'm going to be sad to take it down and pack away all our beautiful ornaments next week.

The Christmas tree is one of my favorite holiday symbols so I thought it would be fun to create an edible one out of cupcakes.

Bake a batch of cupcakes. These happen to be red velvet. Arrange them in a tree shape.


Frost with green icing.

Add some rainbow nonpareils for the lights.

Then decorate with fondant ornaments!

You've got one beautifully delicious Christmas tree!

I hope Santa brings you lots of goodies tonight under your tree!

Merry Christmas!

Monday, November 29, 2010

I've been practicing

Hope everyone had a wonderful Thanksgiving! I know I ate way too much turkey, stuffing and all the fixings! And now it's time to start planning out Christmas desserts for more sweet indulgences over the next month! Before I start my holiday baking I wanted to give you a little update. Do you remember this cake I was asked to make for a wedding in 2011? Well, I've been doing some practicing!

I made the top tier and had the bride-to-be, her mom and grandmother over for a tasting last week. The bride has decided on carrot cake with a cream cheese icing. So what do you think, does my cake resemble the cake I've been asked to make? The bride was pleased with the look and taste of the cake so I was super excited!

In addition to the three tier carrot cake at her wedding she has asked me to make some red velvet cupcakes as well. Her groom is insistent on having a red velvet wedding cake, so she has decided to surprise him with some cupcakes in the shape of a UNC tarheel as a pull-apart grooms cake.

I'm honored to have the opportunity to work on the cake and cupcakes for this wedding! I hope you enjoyed the sneak peak of what's to come in May 2011!

Thursday, August 19, 2010

Cupcake a Week: Red Velvet Cones

Today is the BIG 40 birthday for my brother-in-law Rob, and as a birthday treat he requested I make him some red velvet cupcake cones! So of course I fulfilled his birthday wish and made these yummy cupcakes a few days early for him since I just happened to be in KY last week for work and was able to visit my family as well! So he got a pre-birthday sweet treat...and then he got another treat today from my sister.

While I was in town I helped my sister (well I really supervised her, by being a bossy older sister standing over her shoulder telling her what to do) make a fondant decoration for a cake she was going to give to him today for his actual birthday. The fondant topper was going to reveal her present to him...a surprise trip to Chicago for the weekend! How cool is that! She was going to take some pictures of the final cake and send them to me, so I'll be sure and update with the final product soon! I think my love for baking and decorating is slowly starting to rub off on her b/c every time I come in town now we find ourselves in the kitchen together working on special baking projects. I keep telling her we need to open a cupcake shop together, but there's only one problem...725 miles is separating us! Well maybe 2 problems, she bakes from a box mix...and I prefer to bake from scratch and I'm not sure I will ever be able to change that about her!

But anyways, back to Rob's cupcakes...they turned out to be absolutely adorable and oh so delicious! I've even got a few tricks to share with you on how to make sure these cones don't topple over in your oven.

If you have a mini muffin tin this works perfect to hold the cones in place and keep them stable while in the oven. I have tried just placing the cones on a cookie sheet before and you have to have some steady hands getting those babies into the oven to keep them from falling over. The muffin pan works wonders because these cones aren't going anywhere. I placed the cones in every other hole to allow enough room for baking and so the rims didn't touch.

Next transfer your cake batter into a large measuring cup and use the spout to pour batter evenly into each cone.

Fill batter to the top of the base of the cone, or slightly less. Do not fill the batter all the way to the top or you will have cake oozing all over the sides of your cone.

For the most part the cakes baked up nice and fluffy, but as you can see the 2 in the back I had a little too much batter in and they started to drip down the edges.

Next is the fun part, adding the frosting in a swirly motion to resemble soft serve ice cream. I used a Wilton tip 1A to pipe on the frosting.

And no ice cream cone is complete without some rainbow jimmies.

I have made several versions of red velvet cake before, but for these cupcakes I decided to use Bakerella's red velvet cake and cream cheese frosting recipe. I have been wanting to try her recipe for awhile now, and let me just say I would definitely use it again, delish!

Using her recipe I was able to make 12 cupcake cones and then an 8 x 8 pan of cake (I used the extra cake to make some red velvet cake lollipops...my fave!). I baked the cones for about 18 minutes.

Happy 40th Birthday Rob! Hope you had a great day and enjoy your weekend in Chicago, I'm jealous!

Have you ever made cupcake cones? Do you have any tips and tricks you want to share, or tell me about your favorite flavor, I'd love to hear from you!

Sunday, February 14, 2010

Happy Valentine's Day!


Happy Valentine's Day! Hope everyone has had a wonderful day so far sharing it with the ones they LOVE! I started off the day running a half marathon in Birmingham with my Team in Training friends! Now I'm back in Mobile and my husband had all kinds of Valentine treats waiting for me when I got home...a dozen roses, assorted candies and a sweet card! Now he's fixing me a yummy dinner of shish kabobs (our favorite!!!!) twice baked potatoes and asparagus, yum yum yum! So while he's slaving away on dinner I figured I would update my blog with the Valentine's goodies I left hidden in the house for him while I was gone...I also took these to the team I coached in the half marathon today!


It seems like the most common Valentine's gift is a heart shaped box of chocolates....am I right? So using that idea as my theme I wanted to create my own spinoff of the favorite Valentine's day sweets! I have made cake pops before for baby & wedding showers so I decided why not make them again but this time just leave off the lollipop stick and decorate them with fancy sprinkles and icing swirls so they look like festive bite size candies!


The white chocolate balls are filled with red velvet cake and cream cheese. You can get the recipe here and the technique for making the cake balls here from a fabulous blogger Bakerella. The chocolate balls and chocolate round disk shapes are brownie bites and then decorated with royal icing.


I can't wait to take a bite out of one of these!


In addition to the cake & brownie dipped chocolates I also made a batch of heart sugar cookies with "13.1" piped on them since today was our half marathon race! I knew all the runners would love these cookies. For the recipe click here.


And remember those cute little aluminum Valentine's cans I made a few days ago...well guess what I decided to use them for.....my version of the "Valentine Box of Chocolates".


I placed a plastic treat bag inside and then filled them up with the red velvet cake balls and brownie bites! I really love this DIY packaging idea and think it turned out super cute and festive for Valentine's day!


I then placed the cookies in individual baggies and tied with a ribbon and personalized message tag and then placed on top of my Valentine chocolate tins!


Are you jealous you didn't receive one of these super cute Valentine's? Well hopefully you received your own super yummy and thoughtful Valentine gift from that special someone today!


Here are a few pics from our Mobile, AL Team in Training group that ran the Valentine's Mercedes Half Marathon today! Front Row: Me (in pink with heart headband) & the other coach Kelly, Back Row: Bobbie, Susan, Stephanie & Katie! Way to go ladies! You all did an awesome job today!


Me and Coach VV! She LOVES to dress in costumes in all her races!


VV and Alicia (the tu tu costume seamstress) and Paul aka Cupid!

We all had so much fun running today and I have to say the highlight of the race was when two little boys were handing out Krispy Kreme doughnuts at mile 11.5....oh yeah, I definitely grabbed one and enjoyed every single bite of it! I mean come on, it is Valentine's Day people and I had already run 11.5 miles...I was hungry and someone wants to hand me one of my favorite doughnuts...do you really think I was going to pass up such a SWEET treat on Valentine's Day???? I don't think so! It was delicious!

Happy Valentine's Day!

Friday, February 12, 2010

Red Velvet Mini Heart Cakes with Pink Cream Cheese Frosting


Well it's Valentine's weekend and you know what that means...LOVE, hearts, red & pink and sugary sweets! I absolutely love red velvet cake, the moist chocolate cake with a rich red color combined with the cream cheese frosting, it can't get much better than that! My husband likes red velvet cake too, so I thought I would make this batch especially for him since I'm heading to Birmingham tomorrow to run in yet another half marathon on Valentine's Day! This should keep him happy while I am gone!


I found the cutest mini heart pan the other day so I thought that would be perfect to use and make a batch of red velvet Valentine's cakes! Look how cute these mini cakes look!


To add an extra special touch I tinted the cream cheese icing pink.


And then I added some XOXOXOXOXO sprinkles on top!


Then I decided to have some fun pouring the sprinkles out into a pile and taking a photo!


Still excited about my XOXOXOXO sprinkles...


Can you tell I really love how these mini cakes turned out...now I've stacked 2 on top of each other to create a double decker red velvet and cream cheese sandwich!


I had some left over icing....so I decided to practice my cursive handwriting! By the way, this plate is from Target, isn't it cute! They always have the neatest seasonal serving pieces, and I'm a sucker for decorative plates!
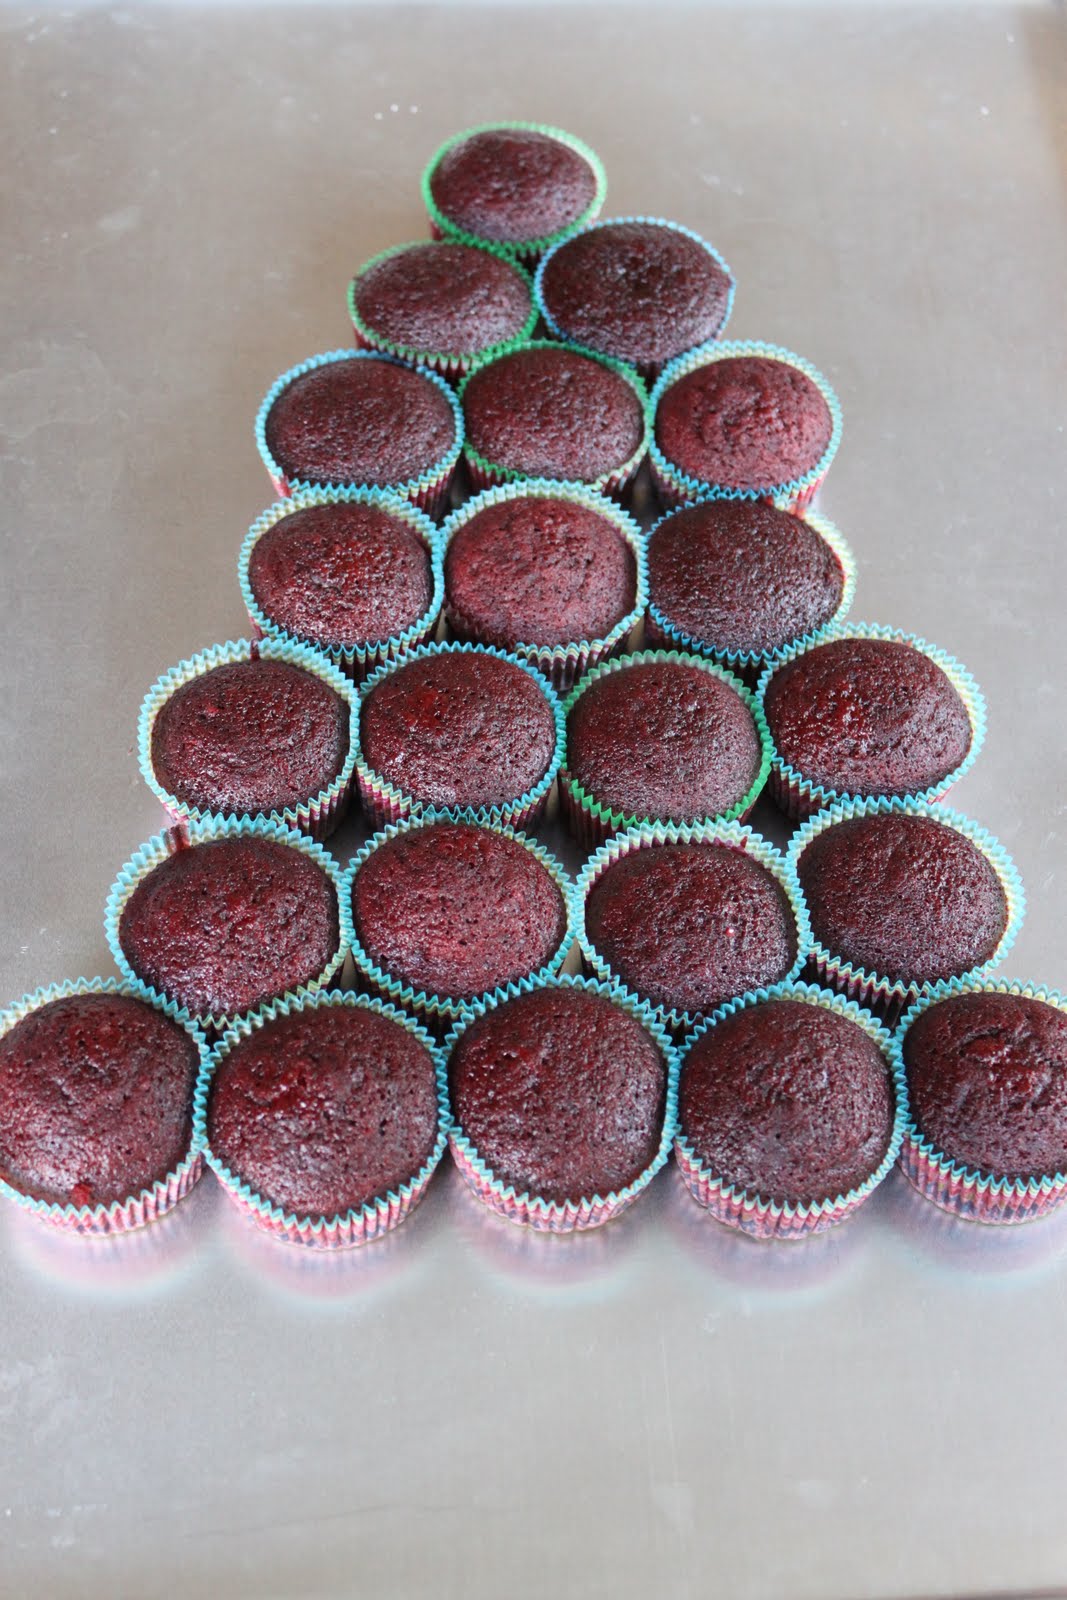


Red Velvet Cupcakes (Martha Stewart)


Ingredients:

2 1/2 cups cake flour (not self-rising, sifted)

2 tablespoons unsweetened Dutch-process cocoa powder

1 teaspoon salt

1 1/2 cups sugar

1 1/2 cups vegetable oil

2 large eggs, room temperature

1/2 teaspoon red gel-paste food color

1 teaspoon pure vanilla extract

1 cup buttermilk

1 1/2 teaspoons baking soda

2 teaspoons distilled white vinegar


  • Preheat oven to 350 degrees. Line standard muffin tins with paper liners. Whisk together cake flour, cocoa and salt.


  • With an electric mixer on medium-high speed, whisk together sugar and oil until combined. Add eggs, one at a time, beating until each is incorporated, scraping down sides of bowl as needed. Mix in food color and vanilla.


  • Reduce speed to low. Add flour mixture in three batches, alternating with two additions of buttermilk, and whisking well after each. Stir together the baking soda and vinegar in a small bowl (it will foam); add mixture to the batter, and mix on medium speed 10 seconds.


  • Divide batter evenly among lined cups, filling each three-quarters full. Bake, rotating tins halfway through, until a cake tester inserted in centers comes out clean, about 20 minutes. Transfer tins to wire racks to cool completely before removing cupcakes. Cupcakes can be stored overnight at room temperature, or frozen up to 2 months, in airtight containers.


  • To finish decorate with cream cheese icing. Refrigerate up to 3 days in airtight containers; bring to room temperature before serving.


Cream Cheese Frosting (Martha Stewart)


Ingredients:

8 ounces (2 sticks) unsalted butter, room temperature

12 ounces cream cheese, room temperature

1 pound (4 cups) confectioners' sugar, sifted

3/4 teaspoon pure vanilla extract


  • Beat butter and cream cheese with a mixer on medium-high speed until fluffy, 2 to 3 minutes. Reduce speed to low. Add sugar, 1 cup at a time, and then vanilla; mix until smooth. Frosting can be refrigerated for up to 3 days; before using bring to room temperature, and beat until smooth.


XOXO

Related Posts with Thumbnails