Happy Friday and Happy Memorial Day weekend! I am super excited to share my featured cupcake a week recipe with you for the upcoming holiday weekend! This is sure to be a crowd pleaser! I tested my latest cupcake creation "Jammin' Strawberry Cream & Chocolate" out with some friends at a crawfish boil the other weekend and they got rave reviews! I'll just go ahead and say it now...these are just too good to eat only one!
 Here's the run down on how these cupcakes were created! For the last 8 weeks this competition called the "Real Women of Philadelphia" has been going on which was hosted by Philadelphia Cream Cheese and the queen of Southern Cuisine herself, Miss Paula Deen! Well I absolutely LOVE Paula Deen and have several of her cook books and love trying out her recipes. And who doesn't love Philly Cream Cheese right? So pretty much every night while eating dinner and watching tv with my husband I would see the Real Women of Philadelphia commericals. Every night I would think to myself why don't I enter this competition. So finally I went to the contest website and read over the details! Let's just say there's a lot at stake here and if your recipe is picked this could be life changing!
Here's a quick run down of the competition:
-8 weeks, with each week being a different category to submit a recipe for: side dish, appetizer, entree & dessert
-you must submit a video of yourself preparing the recipe between 1-10 minutes long
-your recipe MUST include Philadelphia Cream Cheese!
-each week 2 finalists are picked from each of the 4 categories for a total of 16 finalists
Now here's where it gets really exciting, if you are picked as one of the 16 finalists you:
-get flown to Savannah to meet Paula Deen and prepare your recipe in front of a live audience
-from there they pick 1 winner for each of the 4 categories
-the 4 winners get to help write a Philadelphia Cream Cheese cookbook, go on tour promoting the book with Paula Deen and get $25,000 plus a bunch of other cool perks!
Talk about one exciting competition! Well after weeks of thinking about it, talking about it, reading about it, watching some of the submission videos of other women's recipes online I finally decided to take my chances and enter a recipe the last week of the competition for the dessert category!
 I wish I hadn't waited so long to join the contest but really I was super scared of having to video tape myself! Give me a recipe and I'll bake all day long, but throw a camera in front of my face and it's a whole different story! Finally I decided I would just go for it, you only live once right, and how often do you get a chance to meet the queen of butter Paula Deen!
 So I gathered up my Philadelphia Cream Cheese and my secret ingredient homemade strawberry freezer jam and hit the kitchen to start baking...
 CUPCAKES of course! I'm sure by now you all know how much I love cupcakes! I have a running head band that says it all "will run for cupcakes" and I post a different cupcake a week on my blog! So I decided to stay true to myself and what brings me joy and create a batch of cupcakes loaded with great flavors: chocolate, cream cheese and strawberries to hopefully impress Paula!
 CUPCAKES of course! I'm sure by now you all know how much I love cupcakes! I have a running head band that says it all "will run for cupcakes" and I post a different cupcake a week on my blog! So I decided to stay true to myself and what brings me joy and create a batch of cupcakes loaded with great flavors: chocolate, cream cheese and strawberries to hopefully impress Paula!
 I put on the cutest apron I could find and got to filming! Paula had posted all kinds of "how to" videos on the Real Women of Philadelphia site which came in super handy for for my first video cooking debut! She talked about "how to develop a recipe", "how to shoot your video", "how to plate your dish", "how to set up your lighting" "how to do your hair" and "how to choose your wardrobe".
 Paula if you are reading this blog, I want you to know I took all of your video advice into consideratioin when filming my recipe so I hope it pays off when you watch my dessert video submission and see all the careful thought I put into the fine details!
 First of all I set up my prep area on our bar countertop. I decided to break down my recipe and talk about in in "3 easy steps" so I had 3 small workstations. I know it all looks like a mess in this picture but everything flowed quite nicely when filming.

Here's a picture of the Jammin' Strawberry Cream Cupcakes right before they go into the oven. I love the brown and pink color combination!
 And here's the results after baking! YUM!

And with the strawberry cream cheese frosting and a strawberry on top!
 Filming is over and it's time to eat some cupcakes!
 So do you wanna see my 1st ever cooking video debut? You can find the video and recipe for my Jammin' Strawberry Cream & Chocolate cupcakes here on the Real Women of Philadelphia site!
My friend Renie had a Flip camera so that is what we used to video tape! Thanks Renie for being my videographer and putting up with what seemed like a million do overs whenever I would mess up my words! My final video was done in all 1 shot from start to finish! Now don't get me wrong there were about 21 partial videos that occurred before the final video, but the real deal was done in one shooting! I practiced my intro several times, one of which got interrupted by a knock on the door, one of which I pulled out my running headband with the words being upside down, several with my black lab panting loudly in the background...all had to be scrapped! Then on the first time to go through the recipe live without stopping, as soon as I started to mix the cream cheese filling, one of my beaters fell out and we had to start all over. Let's just say I've got some good bloopers if I can figure out how to edit them into one video!
Oh yeah, and then the last second of the "real deal" video I had some cupcake stuck in the side of my cheek. I had to take a bite on camera you know...that's what Paula does on her shows and talk about how yummy the cupcake tasted! Well as I was talking I just moved the cake to my cheek I guess, and then said goodbye. I thought the filming was done! Well when we played back the video, the camera was definitely still on and you see this awful expression on my face while I am trying to move the cake from my cheek with my tongue. Yeah that's all on camera for the whole world to see! So you'll definitely get a good laugh at the end!
I think the last 2 dessert finalists will be picked sometime next week, so I'm keeping my fingers crossed that Paula liked my recipe! Even if I don't get chosen as one of the finalists, entering this contest was an amazing experience and it helped me to overcome my fears of being in front of a camera. I was able to step outside of my comfort zone and take a chance and had an entire community of women from the Real Women of Philadelphia site supporting me along the way!
 Thanks Paula Deen & Philadelphia Cream Cheese for hosting such an amazing competition! Watching all of the recipe submission videos these last 8 weeks has truly been inspiring! There are really some great cooks and creative personalities out there! All of the women that participated in this competition have really changed my perception of cooking and creating recipes! This competition has really taught me to step outside of the box and take a recipe that you love and mix it up a bit to make it one of your own, or to gather some of your favorite ingredients and see what kind of recipe you can create. Cooking truly is something that everyone can do! The kitchen is truly my favorite room of the house and the place where I feel most creative! Even though this competition is over, I feel like I have gained a new respect of cooking and can't wait to create even more of my own recipes!
So what are you waiting for...go whip up a batch of these today! You will be in strawberry & cream cheese heaven!
 First of all I set up my prep area on our bar countertop. I decided to break down my recipe and talk about in in "3 easy steps" so I had 3 small workstations. I know it all looks like a mess in this picture but everything flowed quite nicely when filming.
 Step 1: Prepare chocolate cake batter & cupcake pan
Step 2: Prepare strawberry cream cheese filling
Step 3: Prepare strawberry cream cheese frosting

Here's a picture of the Jammin' Strawberry Cream Cupcakes right before they go into the oven. I love the brown and pink color combination!
 And here's the results after baking! YUM!
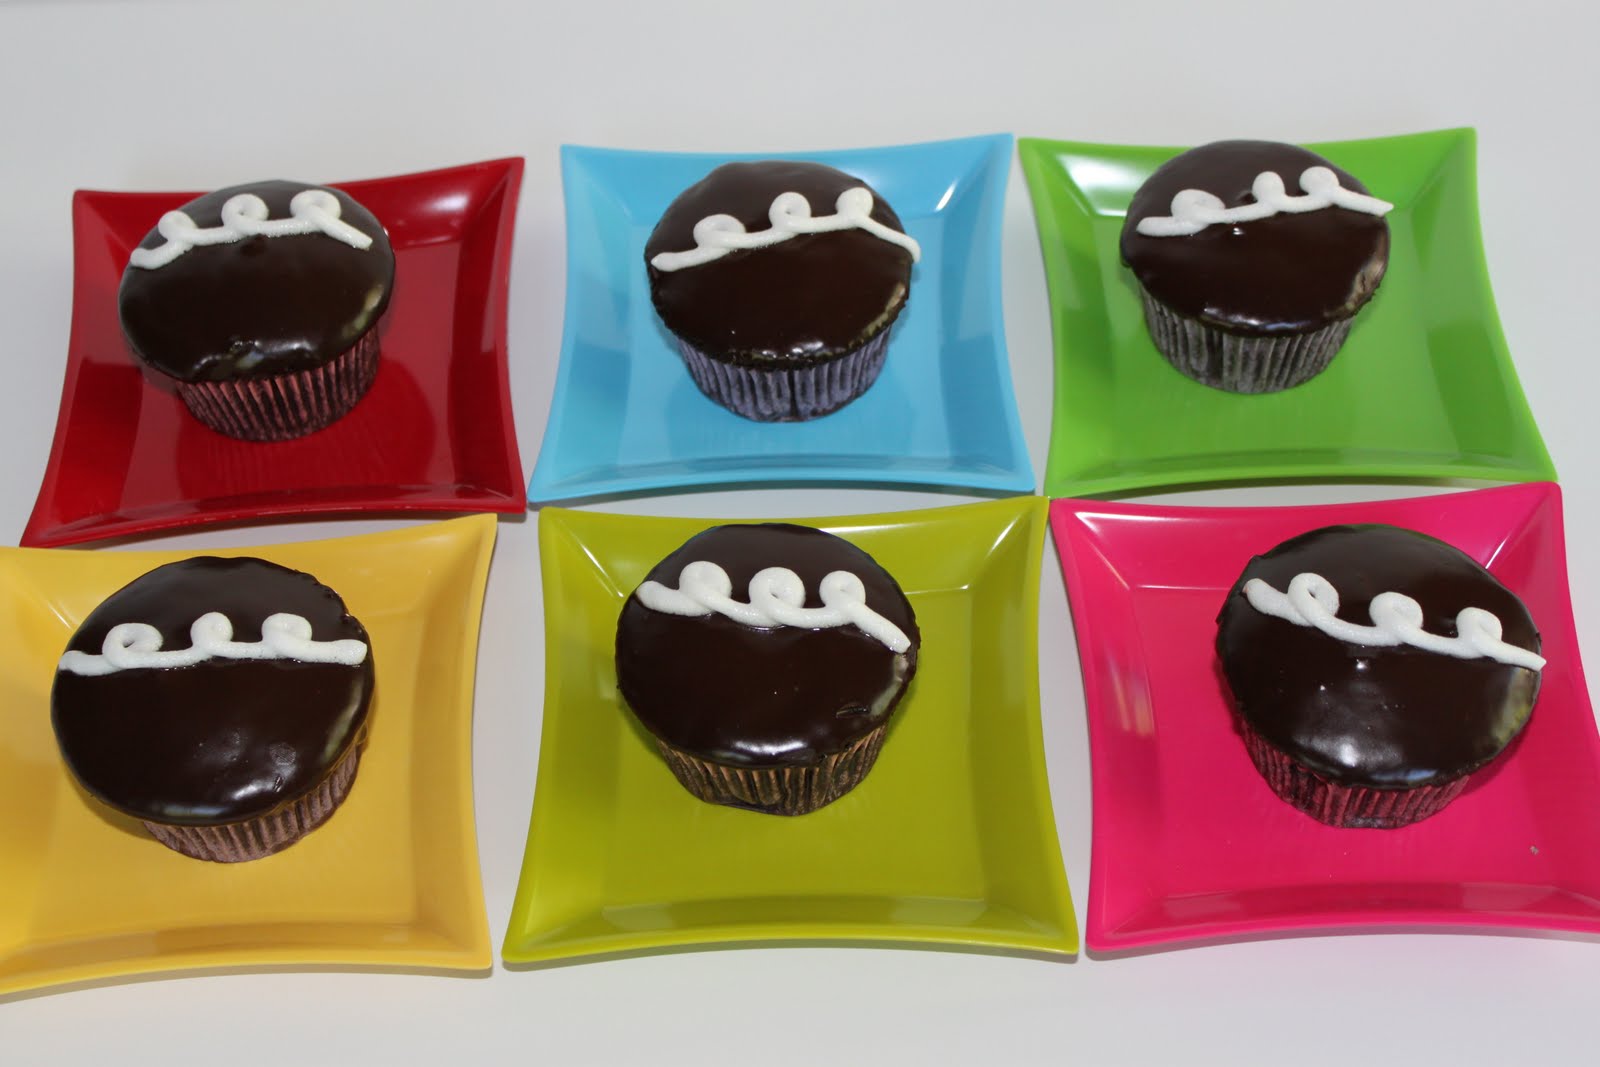
And with the strawberry cream cheese frosting and a strawberry on top!
 Filming is over and it's time to eat some cupcakes!
 So do you wanna see my 1st ever cooking video debut? You can find the video and recipe for my Jammin' Strawberry Cream & Chocolate cupcakes here on the Real Women of Philadelphia site!
My friend Renie had a Flip camera so that is what we used to video tape! Thanks Renie for being my videographer and putting up with what seemed like a million do overs whenever I would mess up my words! My final video was done in all 1 shot from start to finish! Now don't get me wrong there were about 21 partial videos that occurred before the final video, but the real deal was done in one shooting! I practiced my intro several times, one of which got interrupted by a knock on the door, one of which I pulled out my running headband with the words being upside down, several with my black lab panting loudly in the background...all had to be scrapped! Then on the first time to go through the recipe live without stopping, as soon as I started to mix the cream cheese filling, one of my beaters fell out and we had to start all over. Let's just say I've got some good bloopers if I can figure out how to edit them into one video!
Oh yeah, and then the last second of the "real deal" video I had some cupcake stuck in the side of my cheek. I had to take a bite on camera you know...that's what Paula does on her shows and talk about how yummy the cupcake tasted! Well as I was talking I just moved the cake to my cheek I guess, and then said goodbye. I thought the filming was done! Well when we played back the video, the camera was definitely still on and you see this awful expression on my face while I am trying to move the cake from my cheek with my tongue. Yeah that's all on camera for the whole world to see! So you'll definitely get a good laugh at the end!
I think the last 2 dessert finalists will be picked sometime next week, so I'm keeping my fingers crossed that Paula liked my recipe! Even if I don't get chosen as one of the finalists, entering this contest was an amazing experience and it helped me to overcome my fears of being in front of a camera. I was able to step outside of my comfort zone and take a chance and had an entire community of women from the Real Women of Philadelphia site supporting me along the way!
 Thanks Paula Deen & Philadelphia Cream Cheese for hosting such an amazing competition! Watching all of the recipe submission videos these last 8 weeks has truly been inspiring! There are really some great cooks and creative personalities out there! All of the women that participated in this competition have really changed my perception of cooking and creating recipes! This competition has really taught me to step outside of the box and take a recipe that you love and mix it up a bit to make it one of your own, or to gather some of your favorite ingredients and see what kind of recipe you can create. Cooking truly is something that everyone can do! The kitchen is truly my favorite room of the house and the place where I feel most creative! Even though this competition is over, I feel like I have gained a new respect of cooking and can't wait to create even more of my own recipes!
So what are you waiting for...go whip up a batch of these today! You will be in strawberry & cream cheese heaven!