Showing posts with label DIY. Show all posts

Friday, December 3, 2010

Cute as a Button Pink & Gray Baby Shower


Can someone pinch me please! I am beyond excited to share with you that my Cute as a Button baby shower has been featured on the truly amazing Amy Atlas site today! Go check it out here! I have talked about Amy before here on my blog, and I cannot say it enough, her creativity, style and passion for all things sweet truly is an inspiration! She creates the most elegant, elaborate and fun dessert tables for all types of occasions!

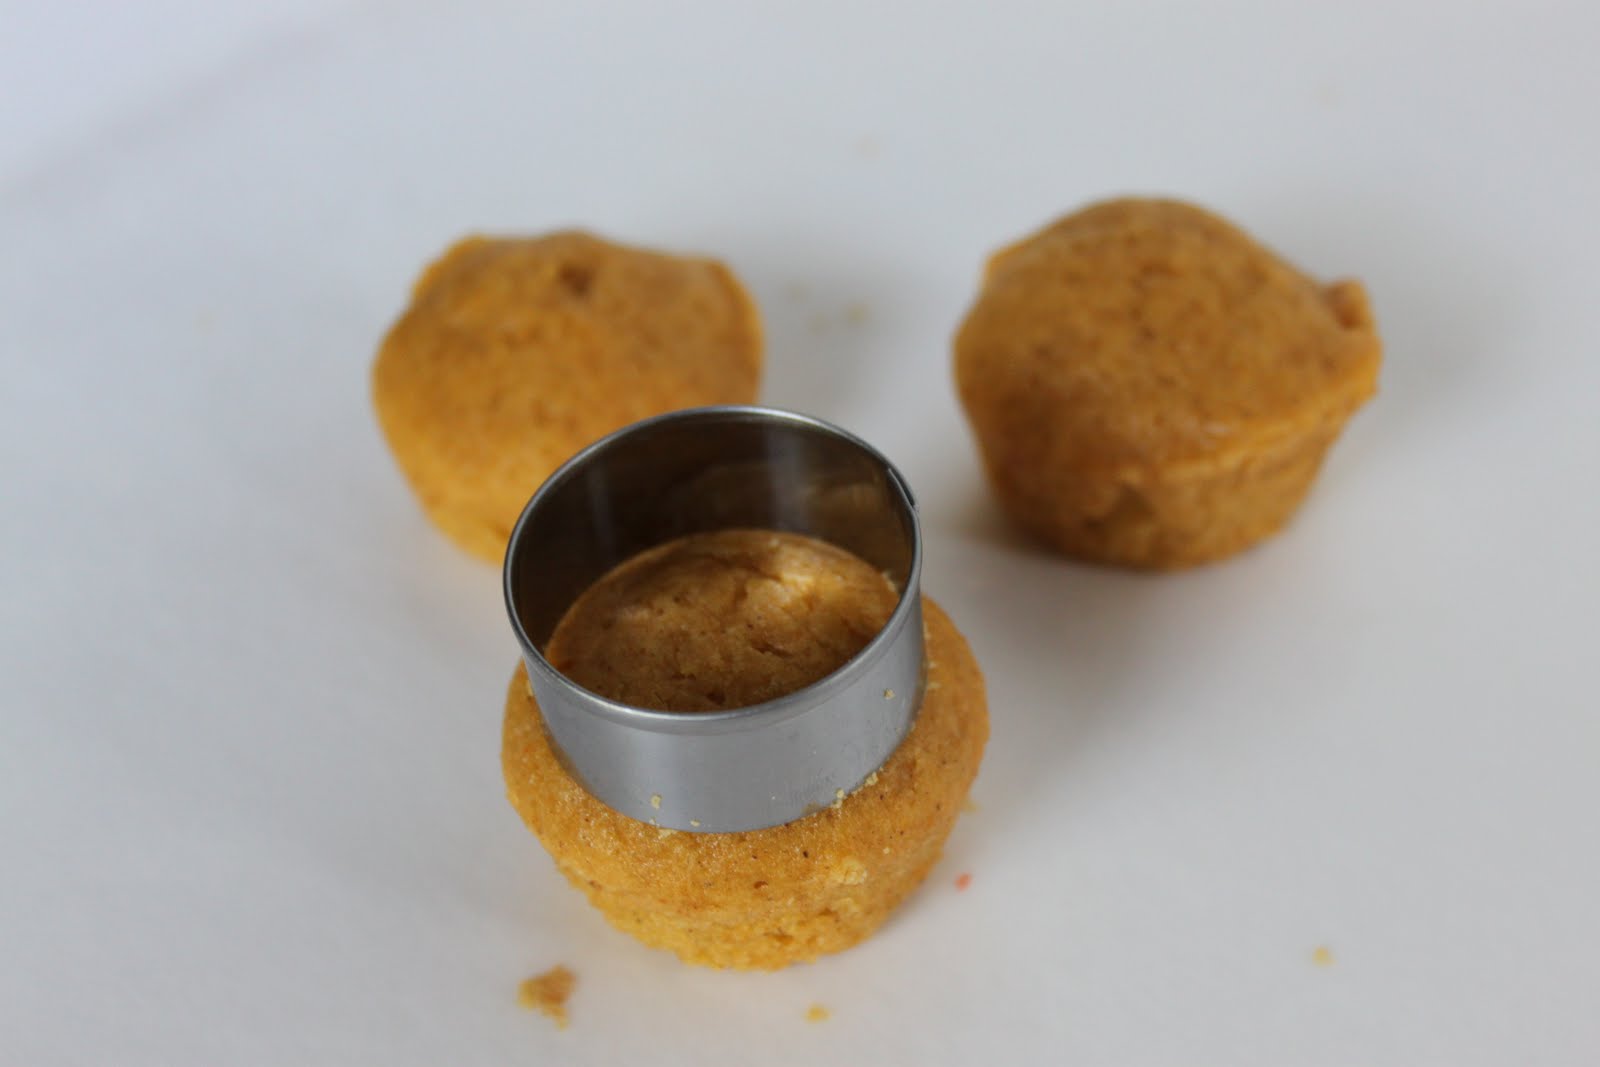
So with my cousin Suzi being pregnant with her first baby, a little girl due on Christmas Eve, I knew I had to pull out all the stops and create an amazing shower for her! I had recently created some cute as a button cupcake skewers for my friend Kelly after she gave birth to her twin boys just a few months ago so I decided to take that idea and run with it.

First on the agenda was to come up with a color palette and create the invites. Since she was having a girl the obvious color choice was pink. I wanted the shower to feel a little more sophisticated so I decided gray would pair nicely with the pink. The whole idea behind the shower was to keep things clean, simple and homemade.

The invites were hand assembled with all materials being found at Michael's. The base of the invitation was a silver metallic stock that came with matching envelopes. A pink textured paper was placed on top of the silver and the main invite was printed on a white card stock. The invite was embellished with paper buttons using Martha Stewart's button punch.

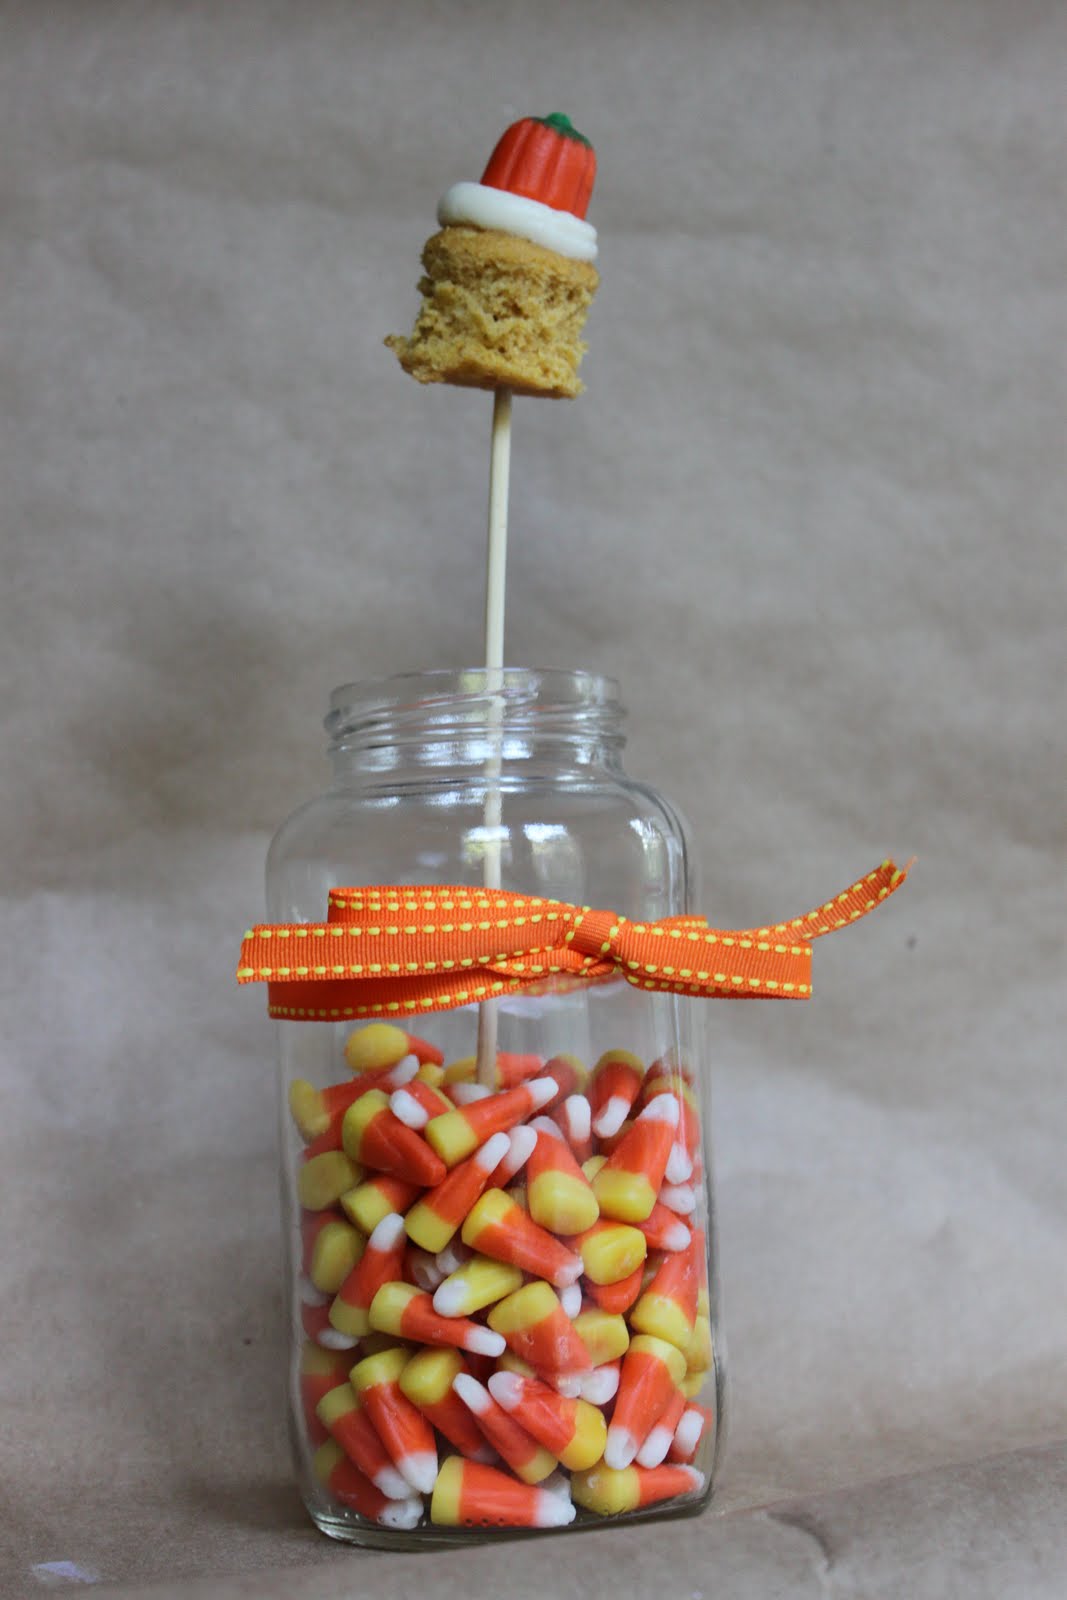
My sister and cousin jumped on board to help me bake and decorate and we were able to pull of a super sweet dessert display! There were of course all sorts of yummies, from sugar cookies, pumpkin cupcake skewers and a yellow cake with a swiss meringue buttercream piped on as ruffles! I love love love the ruffle technique! This was my first time attempting the ruffles and I can certainly say it won't be my last! I first saw this technique from Melody Brandon of My Sweet & Saucy. She even has a video tutorial for how to use the ruffle tip. You should try this, its lots of fun, I promise!

Here's the entire dessert display!

Onesie sugar cookies with fondant pink buttons. Definitely "cute as a button"!

All party guests took home little pink boxes tied with silver ribbon packed with mini sugar cookie buttons. The boxes were a steal I just happened to stumble across at TJMaxx...love that store!

Guests also left with their own jar of sugar cookie mix. The glass jars were from HomeGoods. By wrapping them with a pink satin ribbon and pink button on top they make such a sweet gift!

A peak at the inside of the ruffle cake! YUM!

Here is one of my favorite features of the table...the ornament chandelier! This is a simple, super cute and inexpensive DIY project that will WOW your party guests! The clear ornaments and ribbon were bought from Michael's and filled with pink foam balls and silver beads. The silver matte and glitter ornaments were from the $1 bin at Target! I used 16 ornaments and tied the ribbon at varying lengths to create the chandelier! Since Suzi's baby is due on Christmas Eve what better way to tie in a Christmas element than with some ornaments!

The cupcake skewers were displayed using recycled can goods and wrapped with ribbon.

The pink trees were another great find at TJMaxx. Although they are intended to display jewelry they were cleverly re-purposed to showcase some dangling button sugar cookies to tie in with the shower theme.

Here's a picture of Me, Suzi (the mama to be), my cousin Betsy and my sister Emily!

It was a great day filled with family, sweets, and all things pink!

I am all about creating an amazing display without the huge price tag, and I think that was successfully accomplished with this event! I hope you enjoyed this shower and found some inspiration in the theme or design elements used!

If you're still getting your house all decked out for the holidays and have some extra ornaments laying around, why not make an ornament chandelier! You could dangle it from a doorway and use it as mistle toe, now there's an idea!

Monday, November 22, 2010

Cupcake a Week: Scrabble...Thanksgiving Edition

Only 3 more days until Turkey time...do you have all your desserts lined up? If you are looking for a fun and playful dessert idea, I've got the perfect solution...Scrabble themed cupcakes using Thanksgiving words! This past weekend we had a game night with friends, and since I'm always the designated dessert person I thought it would be fun to make, well cupcakes of course, but with a "game" theme in mind! I just love the way these cupcakes turned out and everyone raved about them! These cupcakes were a conversation piece for the evening as everyone kept walking over debating which letter they were going to take next. Some took letters for their initials and some simply enjoyed coming over and rearranging the existing letters to create new words. Either way, it was a fun way to mingle and enjoy some cupcakes at the same time.

The making of a Scrabble cupcake board...since I wanted to have my cupcakes already displayed upon arriving at the party I had to plan out the words I wanted to use based on the number of cupcakes I had made. I had 36 mini cupcakes so I started jotting down words like

stuffing
pumpkin
thanks
give
yam
turkey
gobble


Then came the hard part, trying to get the words to fit properly together by intersecting and borrowing letters from other words like a typical Scrabble game. After about a dozen pieces of scrap paper and drawing out my game board I finally came up with the perfect word display.

How cute is this Thanksgiving Scrabble board! I'm already envisioning one for Christmas too!

Really this idea could be used two different ways during your Thanksgiving feast.

1. You can have your cupcakes & words already planned out and displayed when guests arrive for them to ooohh and aaahhh at your Thanksgiving dessert centerpiece!

or

2.You can have a batch of cupcakes already iced and decorated with letters but all mixed up. Then your guests can go to town creating their very own Thanksgiving themed Scrabble board. This would be the perfect way to kill time while you are waiting for the bird to finish cooking.

To make the letters all you need is some white rolled fondant cut into squares. Then simply write letters on top of the fondant using some colored icing! Place the fondant letters on top of your frosted cupcakes and viola, you have some homemade Scrabble pieces!

So if you are thinking about creating a Scrabble board for your Thanksgiving party, get started now. Make a list of words you want to use, plan out how they will all intersect with each other to create the perfect Thanksgiving game board, and go ahead and make all your fondant letters and leave them out to dry. Make your batch of cupcakes on Wednesday and then when Thursday rolls around assemble the game board.

If you want to be a little less stressed about creating this game, then just create the letters and don't worry about what words will be created...just make multiple game pieces for each letter of the alphabet and leave the creativity up to your party guests to come up with a unique game board during your gathering!

I hope you've enjoyed this Thanksgiving edition of "cupcake a week" and are inspired to create your own game board! If you do make a Scrabble cupcake board, please come back after turkey day and let me know what your guests thought!

Wishing you all a day full of pumpkin, stuffing, family, friends and all the turkey your tummy desires!

Friday, October 1, 2010

Cupcake a Week: Pumpkin Skewers

Happy October 1st! I can't believe it's already time to start thinking about pumpkin flavored sweets, Halloween costumes and the crazy amounts of candy that comes along with this month!

To start the month off right I'm excited to share with you another cupcake skewer idea I submitted to the Pizzazzerie contest last week! The winner has been chosen, and although my skewers didn't win, both my Cute as a Button and this Pumpkin Skewer idea were featured on the Pizzazzerie site! Be sure to check out some of the other great submissions over on their website for some Halloween and everyday cupcake skewer inspiration. I was so excited when I saw pictures of my cupcake creations!

For this round of cupcake skewers I made a batch of pumpkin cupcakes with cream cheese frosting.

Then decorated the tops with a signature Fall pumpkin candy! These make cute mini cupcakes, but to make the actual cupcake skewer, before decorating there is an extra step you need to do first. So, as promised from last week's cupcake skewer post, I'm going to show you step-by-step how to put your mini cake on a stick!

First make a batch of mini cupcakes and remove the paper liners. Use a circle cutter that is slightly smaller than the width of your cupcake and press through the center of the cake.

Remove the excess cake from around the edges.

You are now left with a uniform round cupcake shape. Cutting the cupcakes with a small circle cutter ensures that all cupcakes are the same size and removes some of the weight of the cake so it sticks on the skewer better. Trust me, I learned this the hard way by first placing the entire mini cupcake on the skewer, the cake was too heavy and flimsy and the skewer poked right through the top of the cupcake. This was bad, very very bad!

Then add a dollop of icing on top.

Add a pumpkin candy for decoration! This just screams fall to me! These are cute enough to eat, even without the skewer!

Place a wooden skewer in the base of the cupcake and viola!

Since candy corns are a staple candy at pretty much every house around Halloween I thought it would be a fun idea to include it in the presentation for these cupcake skewers. By simply using a glass jar, filling it with candy corn and tying a coordinating ribbon around the outside you have a super cute, easy, affordable and festive DIY display for any Halloween dessert table or party center piece.

I'm looking forward to sharing more fun fall and Halloween treats with you! If you have any exciting baking projects lined up for October I'd love to hear about them!

Happy October!

Friday, September 24, 2010

Cupcake a Week: Cute as a Button Cupcake Skewers

I have been dying to share my latest cupcake creation with you all! I actually submitted this into a "cupcake skewer" contest over at Pizzazzerie. It seems the latest trend to be popping up on dessert tables are the cupcake skewers. Take a mini cupcake, add it to a stick with a little decoration on top and you have yourself a pretty unique dessert display!

So here's where my "cute as a button" design inspiration came to be for my cupcakes skewers. You may remember The Big Reveal twin's gender party and the Cowboy Cake I recently made for my friend Kelly's baby shower. Well on September 1st the cutest pair of twin baby boys I have ever seen were born! So I thought it was only fitting to welcome these babies into the world with yet another sweet treat! I went to visit Kelly and the babies this week and took this cupcake skewer bouquet. So I bet you're wondering if I got some pics of the littles ones...of course I did. So let me introduce you to....

Mack & Miles Morgan

Aren't they absolutely precious! Kelly said she tries to keep them positioned alphabetically to make it easier, so Mack is on the left and Miles is on the right!

Mack's the tiny one! He was sleeping when I got there, but soon woke up so I could hold him.

And Miles was just hanging out, looking around, sweet as can be while his little brother napped. I can't wait to go back and spend more time with these little guys!

Since I had a blast creating the "cute as a button" cupcake skewers I've put together a step-by-step photo tutorial on how to make the fondant buttons in case you want to make one of your own. Its super easy!

Roll out fondant in your favorite colors


Using these 3 decorating tips you can make both a large & small size button:
Ateco 806 (or Wilton 1A...just a large round tip)
Wilton #3
Wilton #12

Use the bottom of tip 806 and cut out round circles for the large button

Take the bottom of tip 12 and gently press into the center of your larger circle to create a smaller circle in the center

This is the result

Use tip 3 and flip it upside down to create 2 tiny holes inside of the center circle
Button # 1 is complete...easy enough right?

To make a smaller button, cut circles using the bottom of tip 3

Flip tip 3 over again and make 4 tiny holes in the small button
And that's all there is to making small & large fondant buttons

Then just go to town making more buttons in multiple colors
and there you have your super "cute as a button" cupcake toppers

I created a super easy and simple DIY canister to place the skewers in. Using a recycled can I added 2 strips of construction paper around the center in different colors, one slightly wider than the other. I used a black marker to write "cute as a" and then glued on a fondant button. That's all there is too it. Throw a little shredded paper inside for some extra color and to help hold the skewers in place.

Be sure to stop back by next week when I'll show you "how to assemble a cupcake skewer".

Have a great weekend!
Related Posts with Thumbnails