Owls seem to be popping up everywhere these days in party decor for baby showers and kids birthday parties. One of my friend's has even chosen an owl print for her soon to be baby boy's crib bedding. There are so many fun interpretations I have seen around the web for owl cookies, cakes, cake pops and invitations in an array of colors from pinks/greens, blue/browns, and even shades of purple. I just love how cute these little creatures are when recreated with sugar! So this weekend I finally got a chance to put my own spin on the owl theme when asked to make some baby shower cupcakes. Using the baby shower invite as inspiration I decided to make some fondant owl cupcake toppers that I think turned out absolutely adorable!
You too can make these fondant owls in a matter of minutes with a few shades of colored fondant and some different shaped cutters. Let me show you how with this step-by-step photo tutorial!
 First you will need to tint fondant to your desired colors. This shower was for a baby girl so pink was my dominant color. Feel free to switch things up with blues, greens, purples, etc.
Here's the breakdown on the colors for my owls:
Dark Pink = owl body
Light Pink = wings
Orange = feet & nose
White = eyes & circular base for fondant topper
Black = eyes
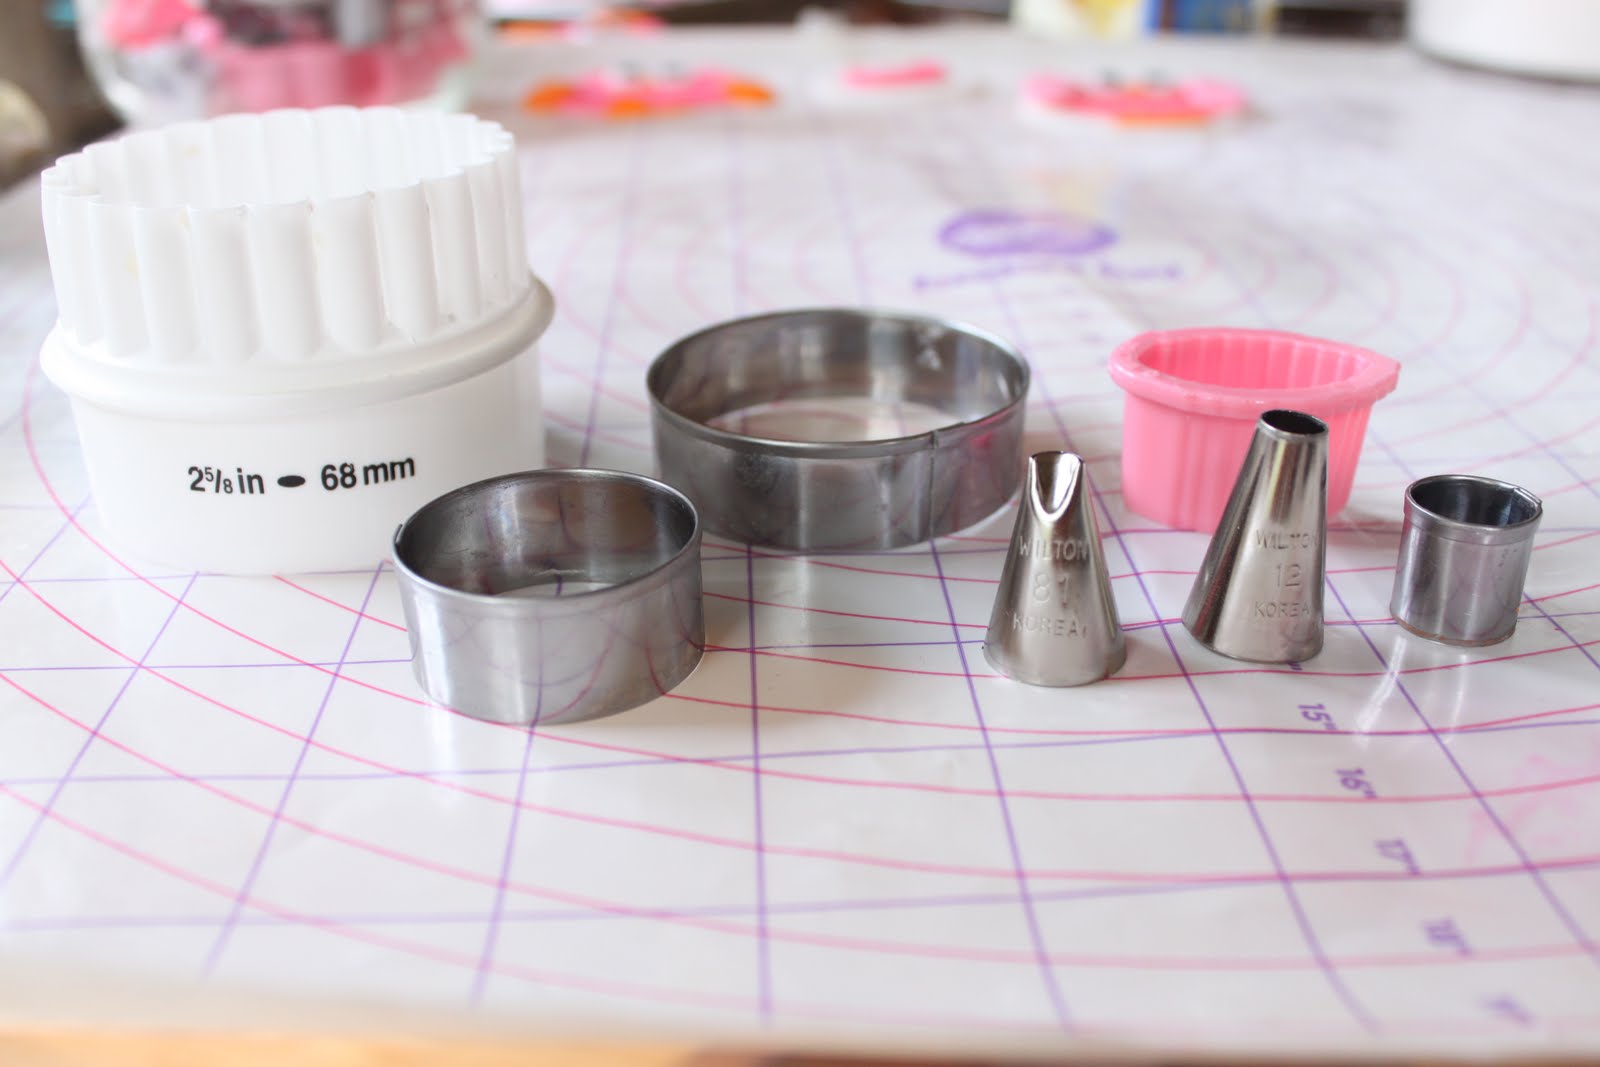 You will need to following tools:
-2 5/8" round cutter (mine is from this set)
-set of 3 round cutters: small, medium, large
-leaf cutter
-Wilton round tip #12
-Wilton curved tip #81
-rolling pin
-offset spatula
-small cup of water
-paint brush
A few notes:
-Once you have rolled out the fondant and cut out the shapes I find it is easiest to use an offset spatula to slide underneath the shapes and lift them up when moving to create the owl shape.
-If you are making a large quantity of owls it is easier to set up an assembly line and make all of the same shapes first then move on to the next shape, rather than making each owl individually. Once you have all your shapes made then go back and assemble all the pieces.
-As you start to assemble you may notice that your fondant has started to harden and dry some, if this happens then use a small paint brush and dip in a cup of water and gently apply water on the pieces you need to assemble. Using a dab of water will help all pieces of the owl stick together and harden together.
 Roll out some white fondant and cut a circle using the 2 5/8" cutter.
 This circle will be the base of your fondant topper that you will place the owl on top of.

Roll out some Dark Pink fondant and cut with the large circle cutter.
 This shape is the base of your owl body.
 Take the medium circle cutter and cut out a small notch from the top of the circle.
 This creates a curved shape for the head of the owl and the pointy ears.
 Place the body of the owl on top of the white fondant circle.
 Roll out some light pink fondant and use the leaf cutter to make the wings.
 Place the wings on the sides of the owl body. It's starting to take shape!
 Roll out some white fondant and using the small round cutter make the owl eyes.
 Roll out some black fondant and using tip #12 make the inside of the owl eyes.
 Your owl can now see! Only a few more steps...
 Roll out some orange fondant and use the small round cutter to make a circle. Cut the circle in half with the offset spatula to create the feet.
 Place the feet underneath the owl's body with the curved side touching the belly. Cut a small triangle nose from the orange fondant using the offset spatula.
 One more step...feathers! Grab tip #81.
 Place the curve side of the tip down into the belly of the owl so it make a "U" shape. Gently press the tip into the fondant and make some feathers. I did a row of 2, a row of 3 and another row of 2.
 HOORAY! The owl is now complete!
 So what do you think...pretty close replica to the invite?
 Allow the fondant toppers to harden overnight and then place on top of your iced cupcakes! These owls can be made days in advance of your party as well if you don't want to be overwhelmed making decorations and baking all at the same time. If you do decide to make them in advance be sure NOT to put them in a tupperware container as the fondant will tend to soften and melt and all your hard work will be ruined.
I hope you found this tutorial helpful! If you decide to make your own fondant owls I'd love to see them so email me pictures or post on the CIS Facebook page.
Have a great week!








 Posts
Posts