Showing posts with label owl. Show all posts
Friday, April 5, 2013
Look Whoo's Having Two - Twins Gender Reveal Party
Happy Friday! I've been so excited to share with you all a recent twins gender reveal party I had the opportunity to help with, and today's the day! My friend Jennifer and I teamed up to create one fun and colorful dessert table for Jennifer's good friend who is having twins! Jennifer did all the table decorations and I provided the sweets. The theme was "Look Whoo's Having Two" with pink and blue owls on the invite. We brainstormed and came up with the idea of doing shades of pink and blue and having owl fondant cake toppers to embellish the cakes.
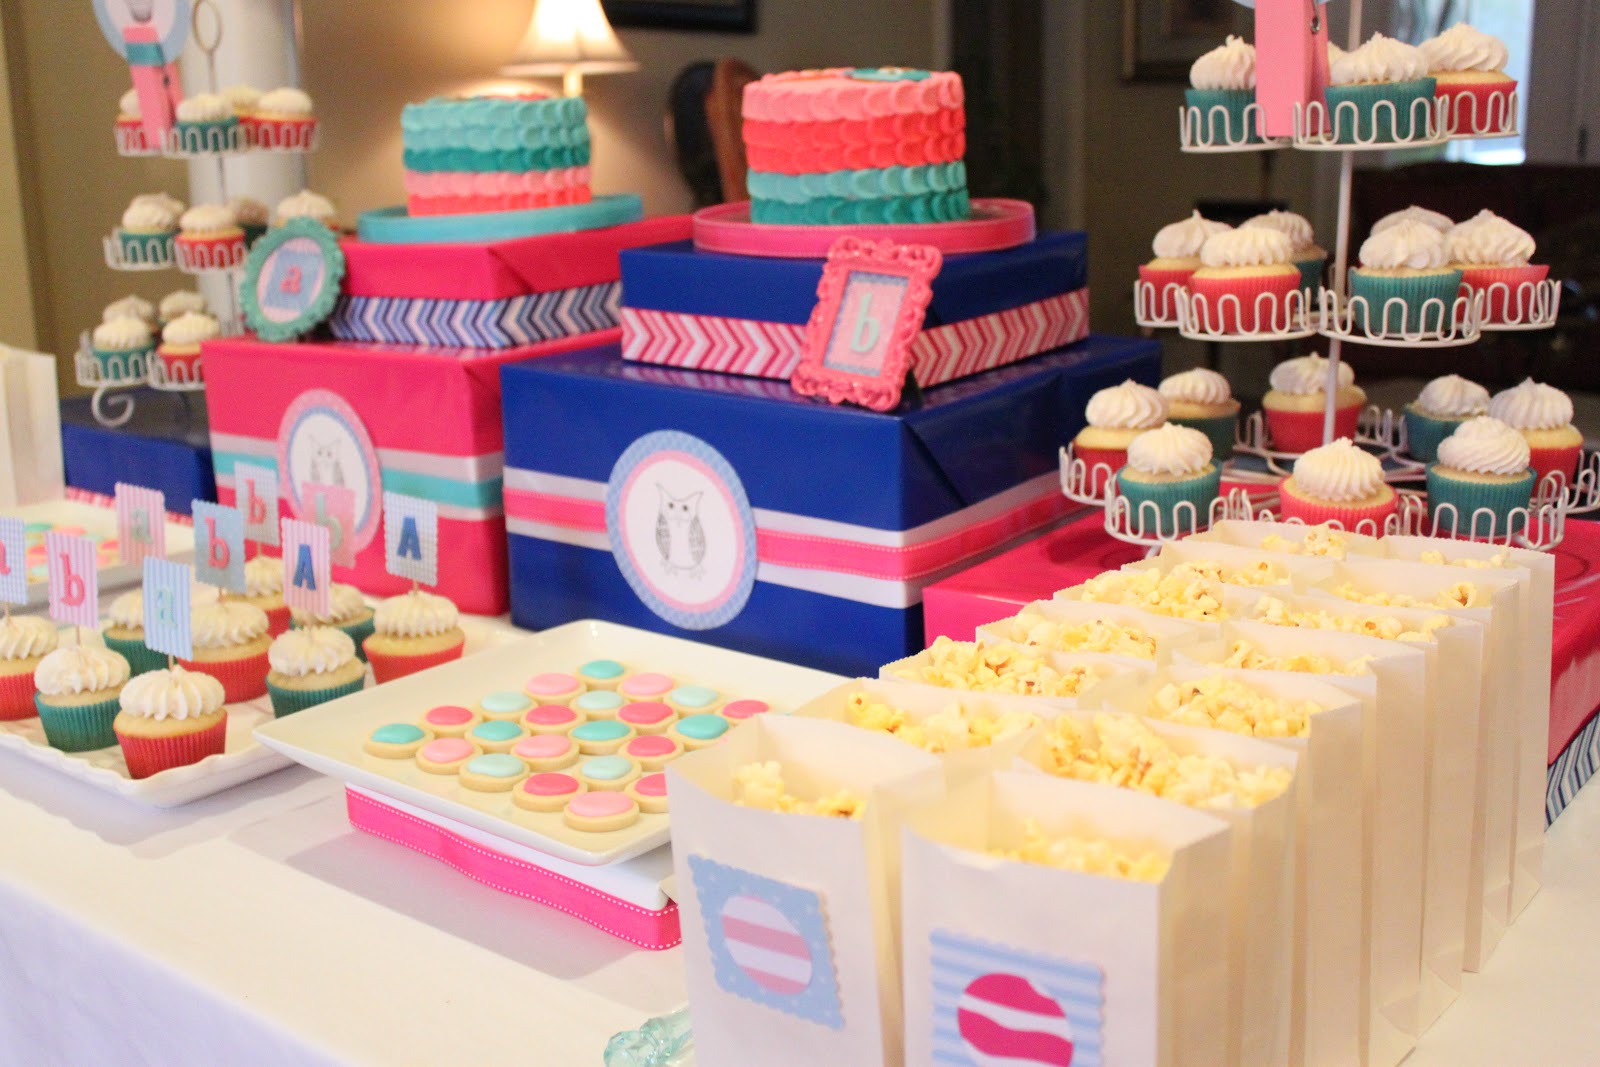
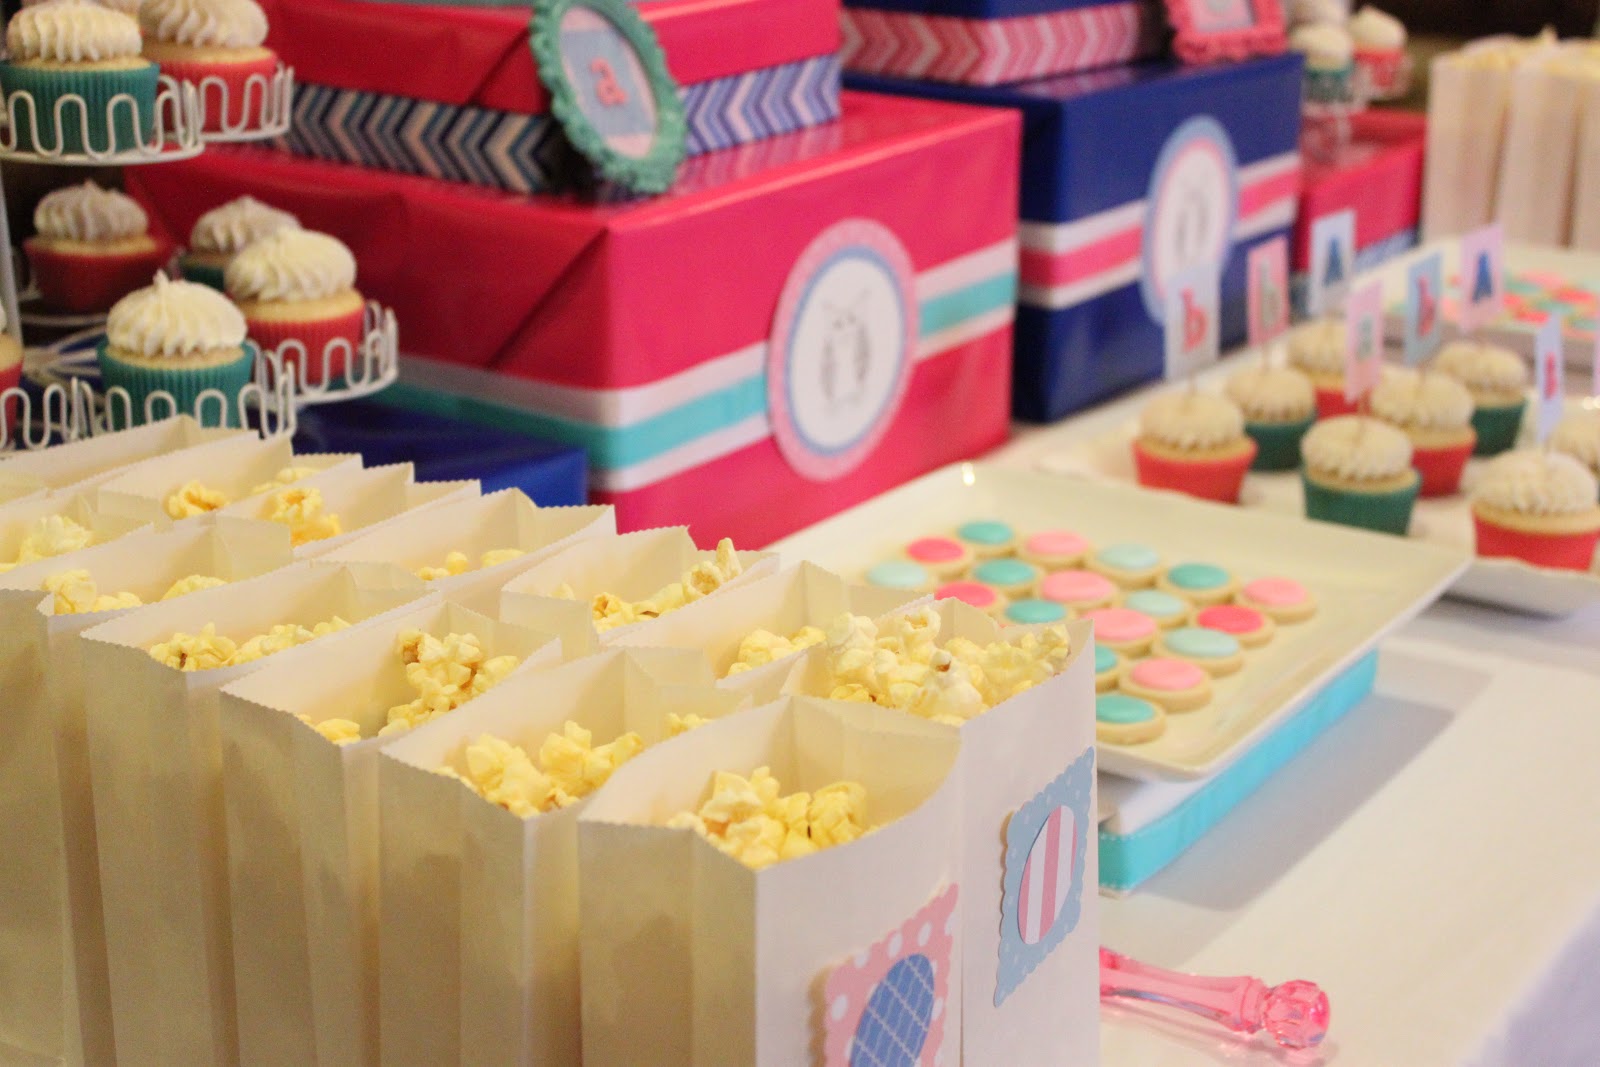
The table was the focal point as guests arrived so it needed to be bright and and cheery and really pop. The center featured two cake displays made from boxes with colored wrapping paper and coordinating ribbons. The cakes were identified as "a" and "b", one for each baby. Cupcakes and cookies were also served along with bags of popcorn for all the anxious guests to enjoy before the cakes were cut. Before the cakes were cut the guests were encouraged to place their guess by circling the colored pair of owls on the invitations that were sent out...pink/blue, two pink, two blue!
I hope you're inspired by this special party and be sure to scroll all the way to the bottom to find out the big "reveal"!
And the big reveal....
Twin GIRLS! I didn't actually attend the party so I wasn't able to see the mama to be cut the cakes. However I did snap a shot of the behind the scenes while I was baking. They're both PINK!
Have you ever been to a gender reveal party before or had a gender reveal party held in your honor? What was the theme?
Wednesday, August 31, 2011
Owl Cake Pops


Congratulations Laurie on your new little bundle of joy! Can't wait to meet him soon!
Sunday, August 14, 2011
Tutorial: How to make Fondant Owl Cupcake Toppers
You too can make these fondant owls in a matter of minutes with a few shades of colored fondant and some different shaped cutters. Let me show you how with this step-by-step photo tutorial!
Here's the breakdown on the colors for my owls:
Dark Pink = owl body
Light Pink = wings
Orange = feet & nose
White = eyes & circular base for fondant topper
Black = eyes
-2 5/8" round cutter (mine is from this set)
-set of 3 round cutters: small, medium, large
-leaf cutter
-Wilton round tip #12
-Wilton curved tip #81
-rolling pin
-offset spatula
-small cup of water
-paint brush
A few notes:
-Once you have rolled out the fondant and cut out the shapes I find it is easiest to use an offset spatula to slide underneath the shapes and lift them up when moving to create the owl shape.
-If you are making a large quantity of owls it is easier to set up an assembly line and make all of the same shapes first then move on to the next shape, rather than making each owl individually. Once you have all your shapes made then go back and assemble all the pieces.
-As you start to assemble you may notice that your fondant has started to harden and dry some, if this happens then use a small paint brush and dip in a cup of water and gently apply water on the pieces you need to assemble. Using a dab of water will help all pieces of the owl stick together and harden together.
Roll out some Dark Pink fondant and cut with the large circle cutter.
I hope you found this tutorial helpful! If you decide to make your own fondant owls I'd love to see them so email me pictures or post on the CIS Facebook page.
Have a great week!
Subscribe to:
Posts (Atom)