


 I just finished my fourth Wilton Cake decorating class, Fondant and Tiered Cakes a few weeks ago. So what you see here is the final cake I designed. This cake combines a variety of decorating techniques that we learned throughout the 4-week class.
This is a tiered cake covered in fondant, with a buttercream rufffle border and royal icing sugar flowers. My favorite part of the class was learning how to make the royal icing flowers. I am still so amazed at how a few simple decorating tips can create such realistic looking flowers.
 Some of my favorite flowers we made in class were yellow Petunias, blue Morning Glories, and white Easter Lilies.
 When you add the stamens to the Easter Lily it really brings the flower to life.
 My favorite part of this cake is the ruffle border. To create this look you actually pipe a buttercream shell border around the edge of the cake first with Wilton tip # 18. Then you go over top of the shell border with Wilton tip # 127 and create a ruffle. To get the ruffled look its all in the movement of your wrist. I couldn't figure it out the first week of class, but knew for my final cake I wanted to give it another try and I'm definitely pleased with how it turned out. This is definitely a border technique I plan to use again on future cakes.
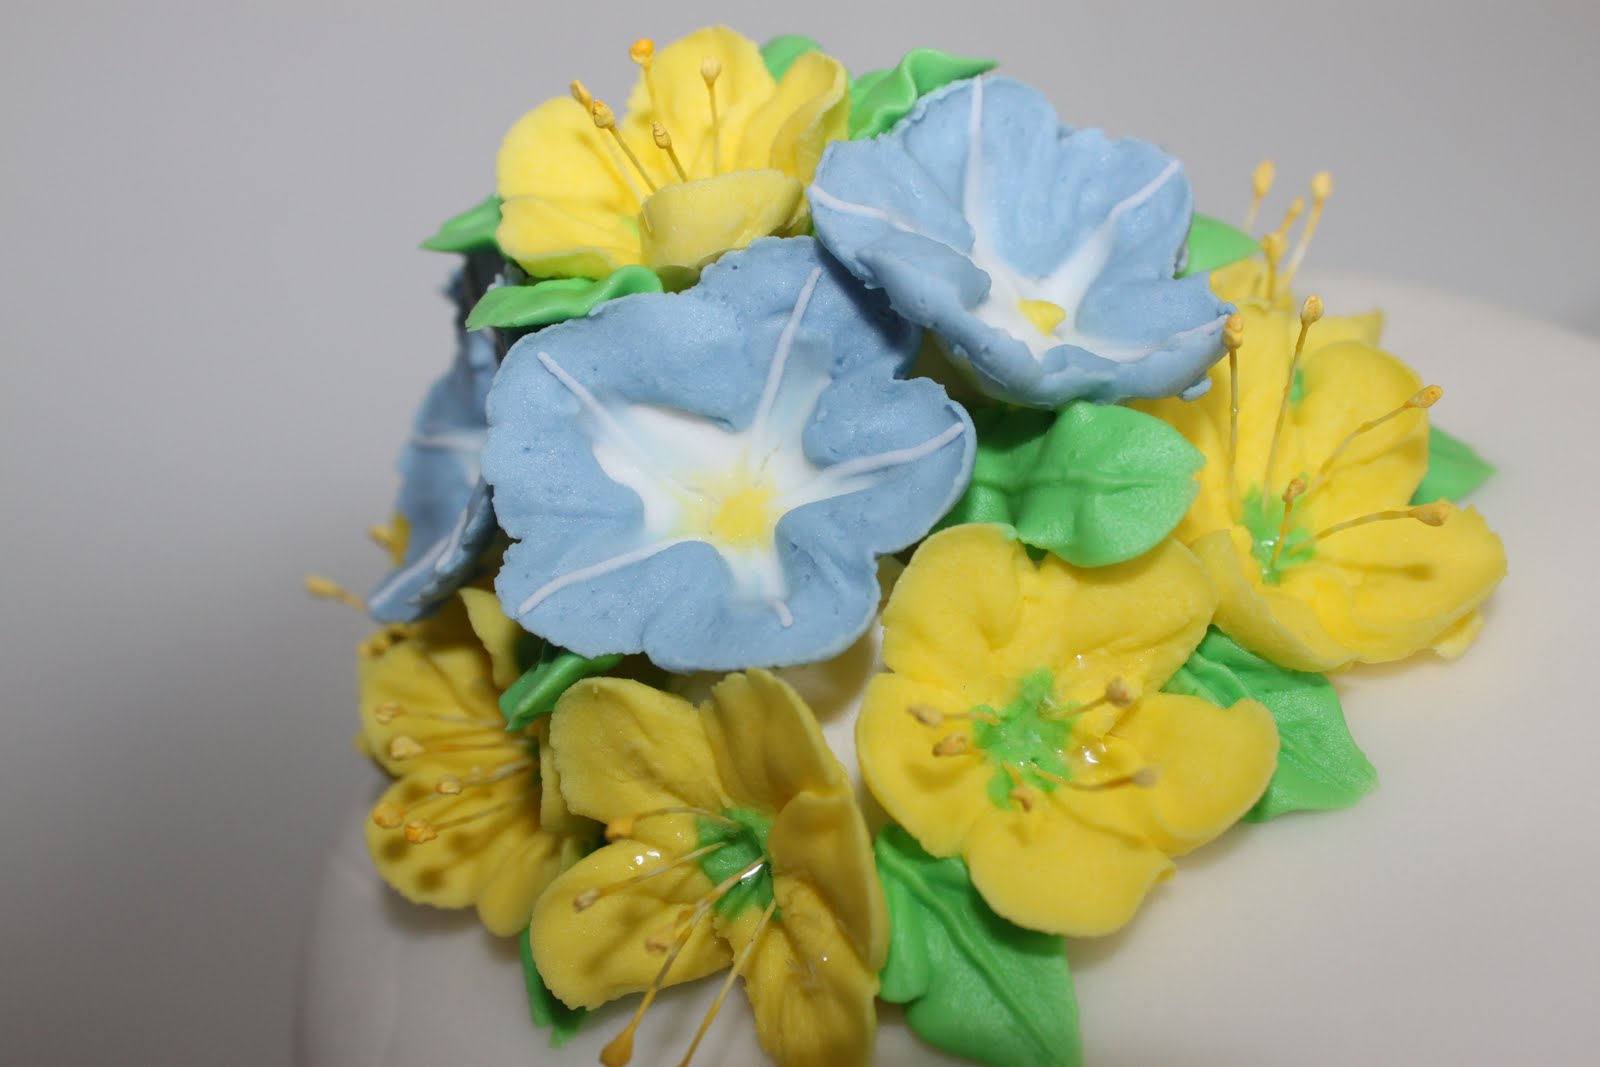 To create the cluster of flowers on top of the cake I put a mound of buttercream in the center and then just placed flowers strategically to cover the frosting and filled in all the gaps with green leaves using Wilton tip # 68.
 Too bad I didn't have a special occasion to use this cake for. So as usual I consumed about half of the cake myself and sent the rest of it to my neighbor's house!
 I guess since I've conquered the 2 tier cake, it only make sense to try a 3 tier cake next right?
 I think I'll wait a little longer for that though, I'm still enjoying the view from the top of this cake!


This is such a pretty cake! I only took the first two Wilton classes . . . then I started to get intimidated! I wish I could learn to make flowers like these. I'm not sure that I have the patience though. I love following your blog - I bake and run too!! Keep up the good work!
ReplyDeleteNicely done! I bet Mom would have liked to enjoy a piece! You owe her another cake when you come home, since her Mother's Day cake didn't turn out. :)
ReplyDeleteummmm amazing! seriously, you should be so proud!
ReplyDeleteAWESOME!!! You really did an amazing job, way to go!!!
ReplyDeleteLauren I love this! You should SERIOUSLY start your own business! I'll help on the weekends :)
ReplyDeleteFabulous cake. So professionally done. Too pretty to eat. I bet it was good, though.
ReplyDeleteLauren: This cake is beautiful. I love the lillies and morning glories. Uncle Rob said, Dammmmmmmmmm!! He was really immpressed. I really like the Elmo cupcakes. He is my favorite.
ReplyDelete